The temple went through many incarnations over its three seasons. This page lists every room featured in the show's history sorted by the position of the temple the rooms held.
| |||||||||||||||||||||||||||||||||||
|
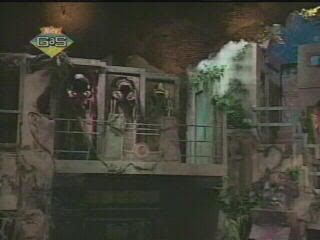
The Room of the Three Gargoyles
Season 1, Layouts 1-7 In this room, contestants press the tongues of three gargoyles on the wall. One or more will open a door. |
| |||||||||||||||||||||||||||||||||
|
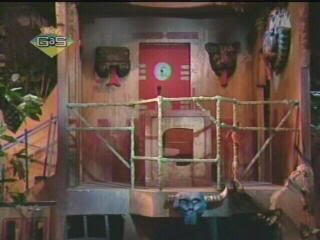
The Room of the Royal Gongs
Season 1, Layouts 8-9 Three gongs hang on the wall. Pushing one may open a door. |
| |||||||||||||||||||||||||||||||||
|
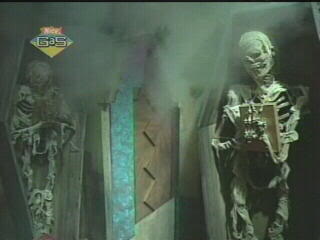
The Crypt
Seasons 2-3 Three skeletons in coffins line the wall, each holding a gold book. Pulling a book may open a door. |
| |||||||||||||||||||||||||||||||||
| |||||||||||||||||||||||||||||||||||||||||
|
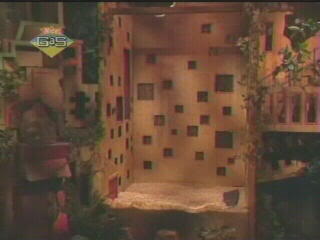
The Wall Climb
Season 1, Layouts 1-4 Here, a contestant navigates the room and attempts to open doors to other rooms by pressing their corresponding actuators. Ropes are added later in the season to assist contestants up the wall. |
| |||||||||||||||||||||||||||||||||||||||
|
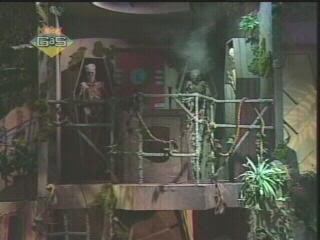
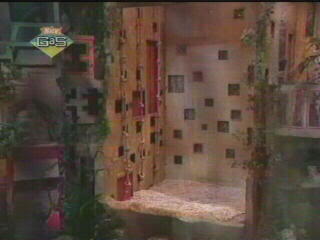
The Troubled Bridge
Season 1, Layouts 5-9; Season 2, Layout 3 The Troubled Bridge divides the Pit area into two halves. Players open unlocked doors by hitting the actuators on either side of the Bridge. Access to the temple's central room is not allowed in these layouts. |
| |||||||||||||||||||||||||||||||||||||||
|
(The Wheel Room)
Season 1, Layouts 5-9 In this division of the Pit of Despair, a player spins a large hamster wheel by walking on it. This action raises a rock slab allowing access to the side door and its actuator. |
| |||||||||||||||||||||||||||||||||||||||
|
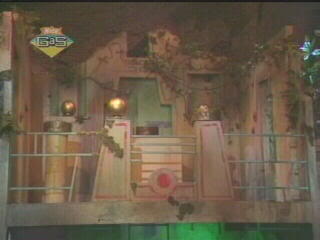
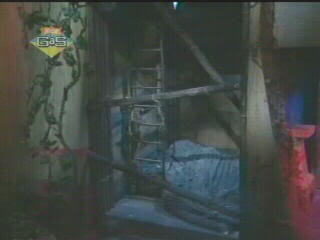
The Pit of Despair
Season 2, Layouts 1-2 Similarly to the Wall Climb, this room requires the contestants to press the actuators of the doors they wish to open. |
| |||||||||||||||||||||||||||||||||||||||
|
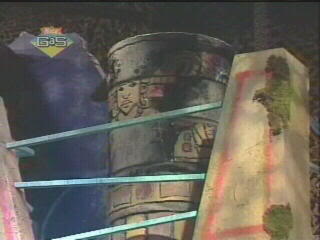
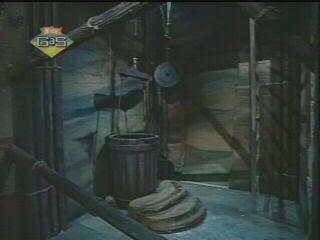
The Rock Quarry
Season 2, Layout 3 Here, a contestant places five rocks into a large bucket, providing enough weight to lift the stone slab blocking the side door and its actuator. |
| |||||||||||||||||||||||||||||||||||||||

|
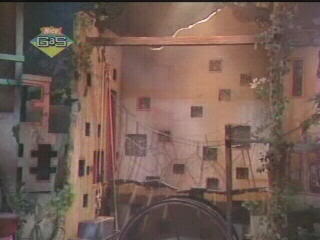
The Pit
Season 2, Layouts 4-5 The Pit is similar to the Pit of Despair, except it features large rock slabs on either side of the room and a hanging rope between them. As before, players press the actuator of the door they wish to pass through. |
| |||||||||||||||||||||||||||||||||||||||
|
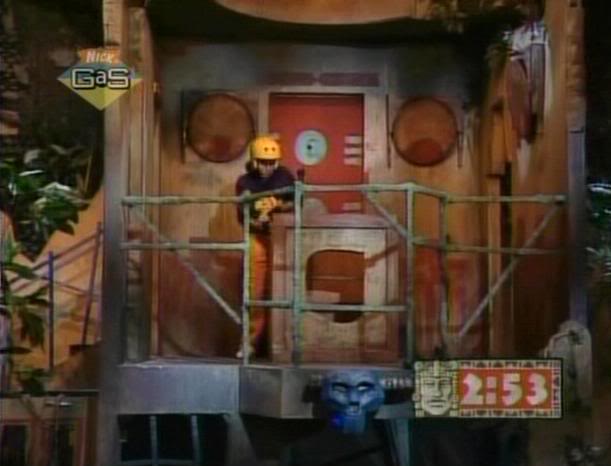
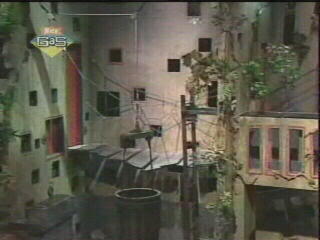
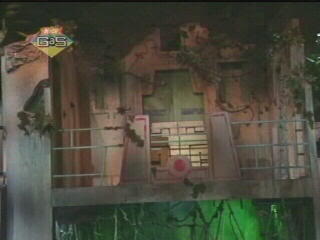
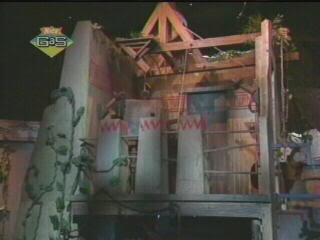
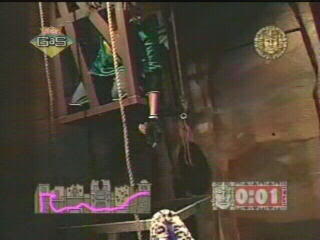
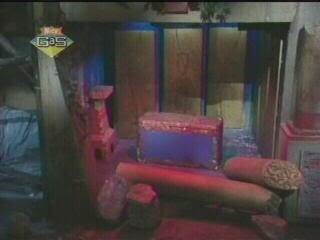
The Pit of the Pendulum
Season 3 Here, contestants knock over a column at the front of the room to progress. Players usually accomplish this by swinging on a vine from the second story of the room. |
| |||||||||||||||||||||||||||||||||||||||
| |||||||||||||||||||||||||||||||||||
|
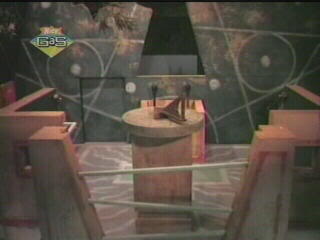
The Observatory (1)
Season 1, Layouts 1-7 Players spin a central sundial to open one or more doors. |
| |||||||||||||||||||||||||||||||||
|
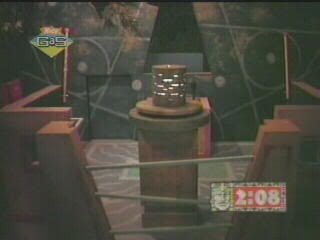
The Observatory (2)
Season 1, Layouts 8-9 Here, a contestant spins a "celestial light" wheel to progress. |
| |||||||||||||||||||||||||||||||||
|
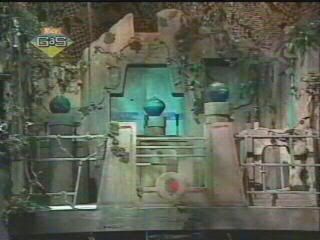
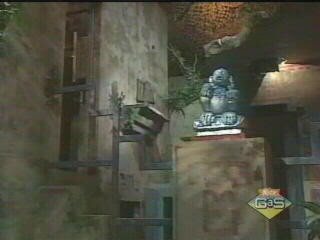
The Observatory (3)
Season 2 Straying away from the pattern of the previous two Observatory incarnations, this one requires a contestant to align a four-piece statue puzzle placed at the front of the room. |
| |||||||||||||||||||||||||||||||||
|
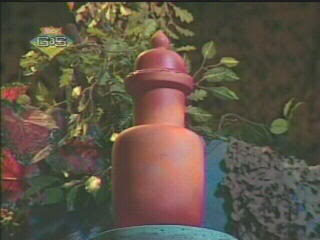
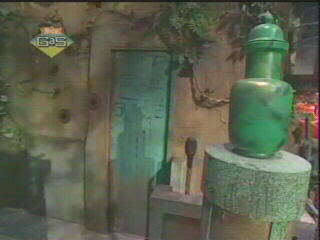
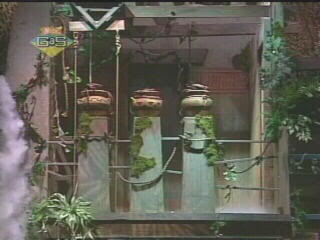
The King's Storeroom
Season 3 Players here break as many as three pots in search of a red key, then place this key into the correct pot pedestal to move on. This room held a different location in the second season. |
| |||||||||||||||||||||||||||||||||
| |||||||||||||||||||||||||||||||||||
|
The Heart Room
Season 1, Layouts 1-8; Season 2, Layout 1 In the simplest of all rooms on Legends, a player attempts to open a door by hitting its corresponding actuator. |
| |||||||||||||||||||||||||||||||||
|
The Room of Fallen Columns
Season 1, Layout 9 This room's objective remains identical to that of its predecessor, the Heart Room, except that foam columns are strewn around the room to inhibit movement. |
| |||||||||||||||||||||||||||||||||
|
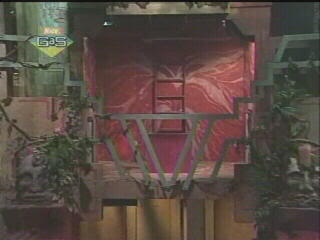
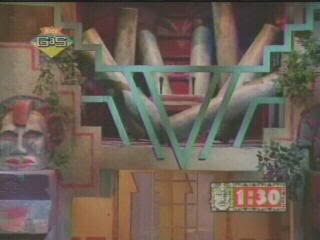
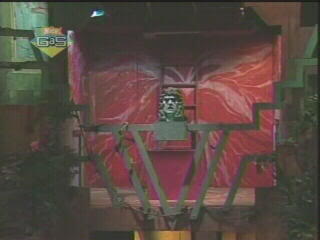
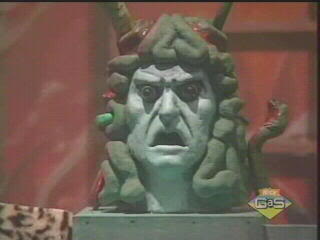
Medusa's Lair
Season 2, Layouts 2-4 Here, a player takes and places four snakes (reduced to two later in Layout 2) into a raised Medusa head to open the doors. |
| |||||||||||||||||||||||||||||||||
|
The Room of the Mandarin Hand
Season 2, Layout 5 This room requires a contestant to curl the five fingers of the central "Mandarin hand" around a orb to open the doors. |
| |||||||||||||||||||||||||||||||||
|
The Chamber of the Sacred Markers
Season 3 Players complete the missing pattern along the central door of the room by first locating and then placing the stray markers in their correct positions. |
| |||||||||||||||||||||||||||||||||
| |||||||||||||||||||||||||||||||||||
|
The Room of the Golden Idols
Season 1, Layouts 1-3 Here, a player can either hit an actuator to open a side door or press down one of three golden idols, potentially opening the corresponding door and allowing access downward. |
| |||||||||||||||||||||||||||||||||
|
The Treasure Room
Season 1, Layouts 4-8 A contestant here can either open a side door via the corresponding actuator or open the central treasure test and climb down through it, provided it's unlocked. |
| |||||||||||||||||||||||||||||||||
|
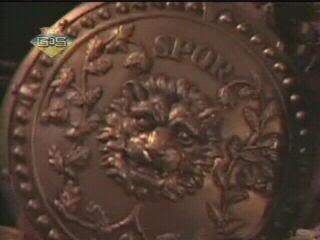
The Treasury of Golden Orbs
Season 1, Layout 9 Here, a contestant takes an orb from the back of the room and places it in one of three pedestals. The correct pedestal opens all unlocked doors. The actuators in this room are inactive. |
| |||||||||||||||||||||||||||||||||
|
The King's Storeroom
Season 2 Players here break as many as three pots in search of a red key, then place this key into the correct pot pedestal to move on. This room held a different location in the third season. |
| |||||||||||||||||||||||||||||||||
|
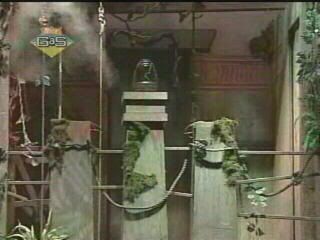
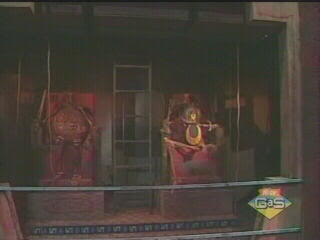
The Room of the Ancient Warriors
Season 3 Pulling the correct set of armor of the three in the room opens any unlocked doors. A temple guard may capture a player after they pull down the two handles. There are no downward-leading doors in this season. |
| |||||||||||||||||||||||||||||||||
| |||||||||||||||||||||||||||||||||||

|
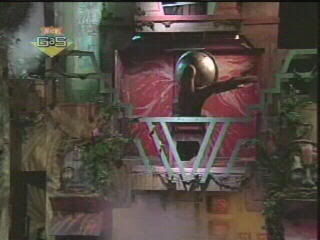
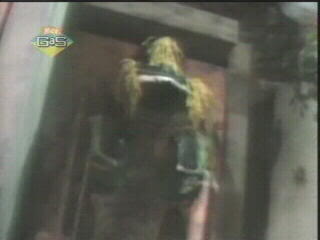
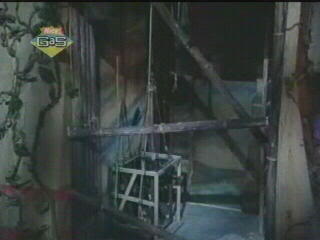
The Shrine of the Silver Monkey
Seasons 1-3 Possibly the best-recognized symbol of the show behind Olmec is the Shrine of the Silver Monkey. In here, a player assembles a three-piece monkey statue, whose segments are placed on shelves about the room, at a pedestal at the front of the room to open any unlocked doors. |
| |||||||||||||||||||||||||||||||||
| |||||||||||||||||||||||||||||||||||
|
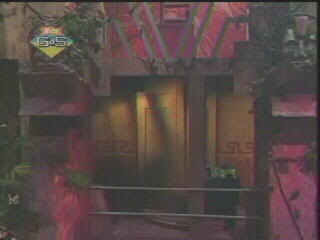
The Torch Room
Season 1, Layouts 1-2 The Room of Three Torches Season 1, Layouts 6-9 If entering this room from the lower level, a contestant takes a torch placed on a wall and places it in the correct pedestal of three to open the door to the Shrine of the Silver Monkey. If entering from the Shrine, the player needs only take the elevator downwards to progress. |
| |||||||||||||||||||||||||||||||||
|
The Pirates' Cove
Season 1, Layouts 3-5 If entering this room from the lower level, a contestant takes a torch placed on a wall and places it in the correct pedestal of three to open the door to the Shrine of the Silver Monkey, imitating the Torch Room. However, if the player enters from the Shrine, he or she needs to spin a ship's wheel to raise a rock slab unveiling the ladder leading below. |
| |||||||||||||||||||||||||||||||||
|
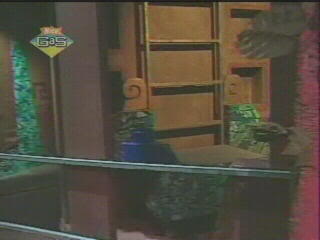
The Vipers' Nest
Season 2, Layouts 1-2 If entering the room from below, a player pulls the lids off up to three jars at the front of the room in search of a snake, that, when found and yanked, may open the door. If entering from the Shrine, the player needs only take the elevator to access the room below. |
| |||||||||||||||||||||||||||||||||
|
The Lightning Ball Room
Season 2, Layout 3 If entering the room from below, a player connects four power cords to the lightning ball at the front of the room to open the door. Otherwise, if entering from the Shrine, the player needs only take the elevator to access the room below. |
| |||||||||||||||||||||||||||||||||

|
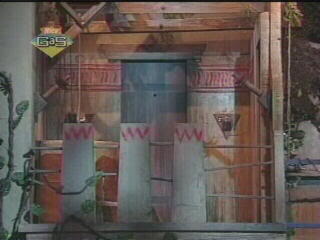
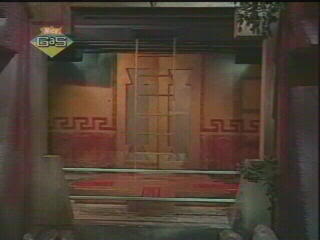
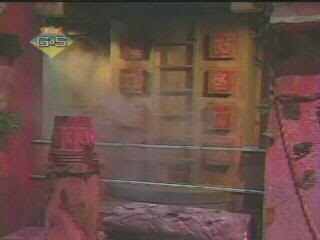
The Room of the Secret Password
Season 2, Layouts 4-5; Season 3 Three password cabinets hang on the walls of the room, each containing a unique password inscription. To open unlocked doors, the player must read the correct password. In the second season only, players can progress directly from the Shrine of the Silver Monkey to the elevator leading below without completing the password objective. |
| |||||||||||||||||||||||||||||||||
| |||||||||||||||||||||||||||||||||||
|
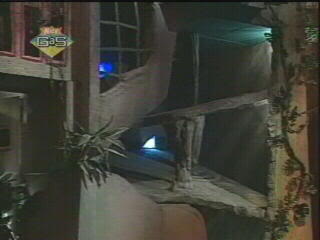
The Mine Shaft
Season 1, Layouts 1-2; Season 2 A player in this room has three options: to take the elevator upwards (provided it's available), to break through the stone wall leading rightwards (provided it can be destroyed), or to open the Shrine door by hitting its actuator (provided the door is unlocked). |
| |||||||||||||||||||||||||||||||||
|
The Dungeon
Season 1, Layouts 3-5 A player in this room has three options: to take the ladder upwards, to break through the stone wall leading rightwards (provided it can be destroyed), or to open the Shrine door by hitting its actuator (provided the door is unlocked). |
| |||||||||||||||||||||||||||||||||
|
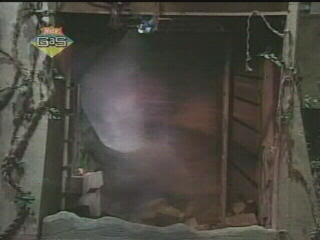
The Well
Season 1, Layouts 6-9 A player in this room has three options: to hop in the large bucket bringing the player upwards (provided it's available), to break through the stone wall leading rightwards (provided it can be destroyed), or to open the Shrine door by hitting its actuator (provided the door is unlocked). |
| |||||||||||||||||||||||||||||||||
|
The Quicksand Bog
Season 3 The Quicksand Bog allows the player entering it to climb through the Pharaoh's Secret Passage into the room above, smash through the stone wall (provided it can be broken), or attempt to open the Shrine of the Silver Monkey's door by hitting its actuator. |
| |||||||||||||||||||||||||||||||||
| |||||||||||||||||||||||||||||||||||
|
The Tomb of Ancient Kings
Season 1 Here, a player either attempts to bust through the stone wall and progress to the left, or search for a key in the central coffin, that, when found, may allow access to both the room above and to the right of the Tomb. |
| |||||||||||||||||||||||||||||||||
|
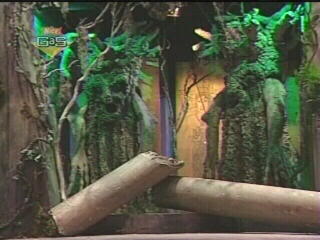
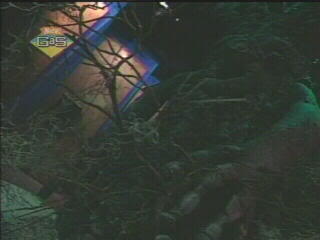
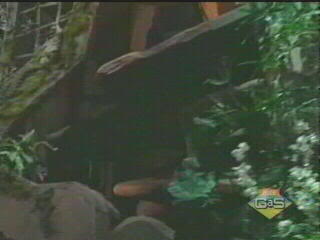
The Dark Forest
Seasons 2-3 Here, a player has two options. The first is to search for a key in the trunks of the two trees. This key may open the door leading upward and/or the door leading to the right. The second option is to bust through the stone wall and progress to the left, provided the wall can be smashed. A tree in the room may be inhabited by the spirit of a temple guard, seizing a contestant and forcing him or her to sacrifice a Pendant of Life. |
| |||||||||||||||||||||||||||||||||
| |||||||||||||||||||||||||||||||||||
|
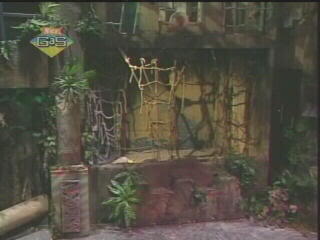
The Swamp
Season 1, Layouts 1, 4-5; Season 2, Layouts 1-3 The Swamp is a room filled with aged netting and a swampy foundation. To open an unlocked door, a player must press its corresponding actuator. |
| |||||||||||||||||||||||||||||||||
|
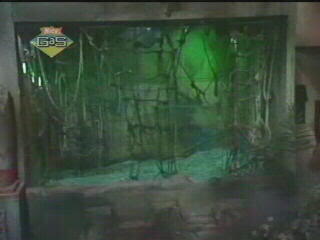
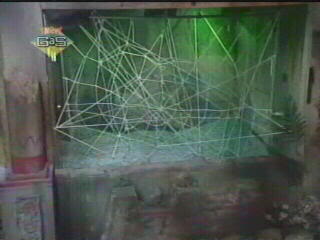
The Spider's Lair
Season 1, Layouts 2-3 To open an unlocked door, a player must press the corresponding actuator. The room is filled with webbing. |
| |||||||||||||||||||||||||||||||||
|
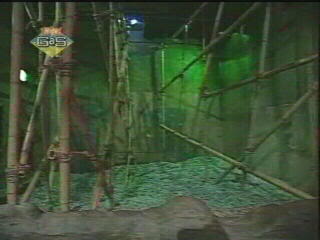
The Bamboo Forest
Season 1, Layout 6 The Bamboo Forest is just that--a forest of bamboo poles. In a similar manner to its predecessors, opening unlocked doors is accomplished by striking the corresponding actuators. |
| |||||||||||||||||||||||||||||||||
|
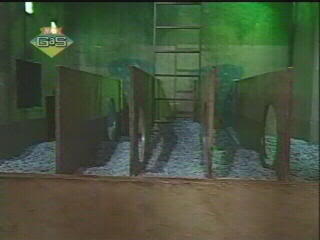
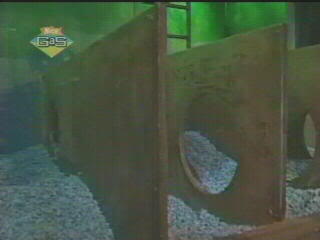
The Treacherous Holes of Python
Season 1, Layouts 7-9 A number of short, vertical partitions stretch from the front to the back of the room, each with one or more holes players must crawl through. Once again, this room is actuator-based--the contestant presses the corresponding actuator of an unlocked door to open it. |
| |||||||||||||||||||||||||||||||||
|
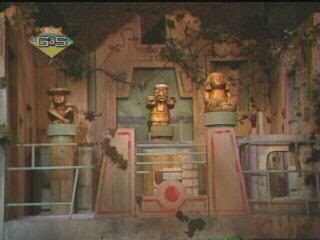
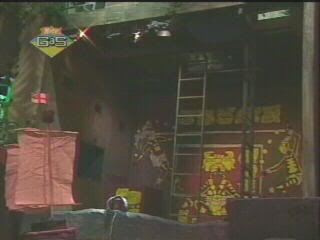
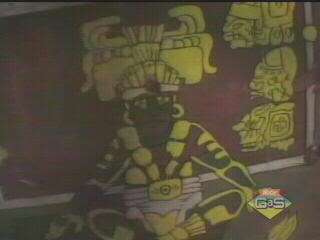
The Jesters' Court
Season 2, Layouts 4-5; Season 3 Three fluorescent painted figures adorn the back wall. A contestant opens unlocked doors by correctly aligning him or herself with the correct figurine, pressing three actuators simultaneously in the process. In the third season, the room's ladders allowing upward access are removed. |
| |||||||||||||||||||||||||||||||||
| |||||||||||||||||||||||||||||||||||

|
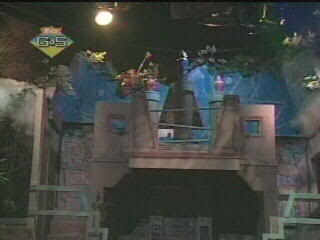
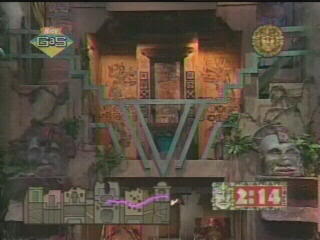
The Throne Room
Season 1, Layouts 1-3, 7-9 In the Throne Room, contestants press the "Throne of the Pretender" at the center of the room, usually accomplished by sitting upon it, to open any unlocked doors. |
| |||||||||||||||||||||||||||||||||
|
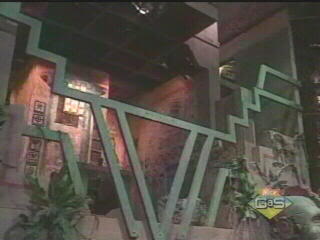
The Room of Harmonic Convergence
Season 1, Layouts 4-6 Five floor panels are arranged in a circle at this room's center. Players press any two adjacent panels; the correct combination opens all unlocked doors. |
| |||||||||||||||||||||||||||||||||
|
The Throne Room (2)
Season 2, Layouts 1-2 In this updated version of the Season 1 room, the throne is attached to a reversible wall. Players sit upon the Throne of the Pretender while pressing two armrest actuators, causing the throne to swing around the wall. This allows access to any opened doors. |
| |||||||||||||||||||||||||||||||||
|
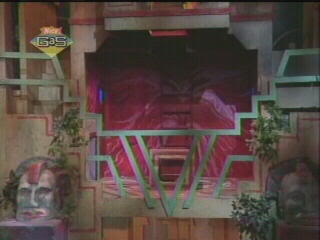
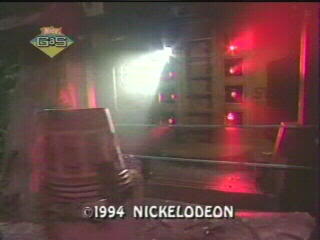
The Laser Light Room
Season 2, Layouts 3-5 Here, seven red lasers and one white are concealed under eight removable panels. After unveiling the white laser, all unlocked doors open. |
| |||||||||||||||||||||||||||||||||
|
The Tomb of the Headless Kings
Season 3 Players tug on vines hanging from the ceiling to open their corresponding compartments. One compartment contains the skull, that, when placed on the proper king, will open any doors. |
| |||||||||||||||||||||||||||||||||
| |||||||||||||||||||||||||||||||||||
|
The Cave of Sighs
Season 1 The Ledges Seasons 2-3 Players can exit this entrance room by pressing the corresponding actuator of any unlocked door. In the first season, contestants enter this room directly from the front. In later seasons, one must slide downward to the Ledges when entering the temple. |
| |||||||||||||||||||||||||||||||||